Introduction: Why Personalized Ornaments Are the Ultimate Holiday Trend
One of the most enduring trends in holiday décor is personalization. In 2025, personalized ornaments and DIY Christmas projects are taking center stage in homes across the United States. They offer sentimental value, creative expression, and unique flair that can’t be replicated by store-bought decorations.
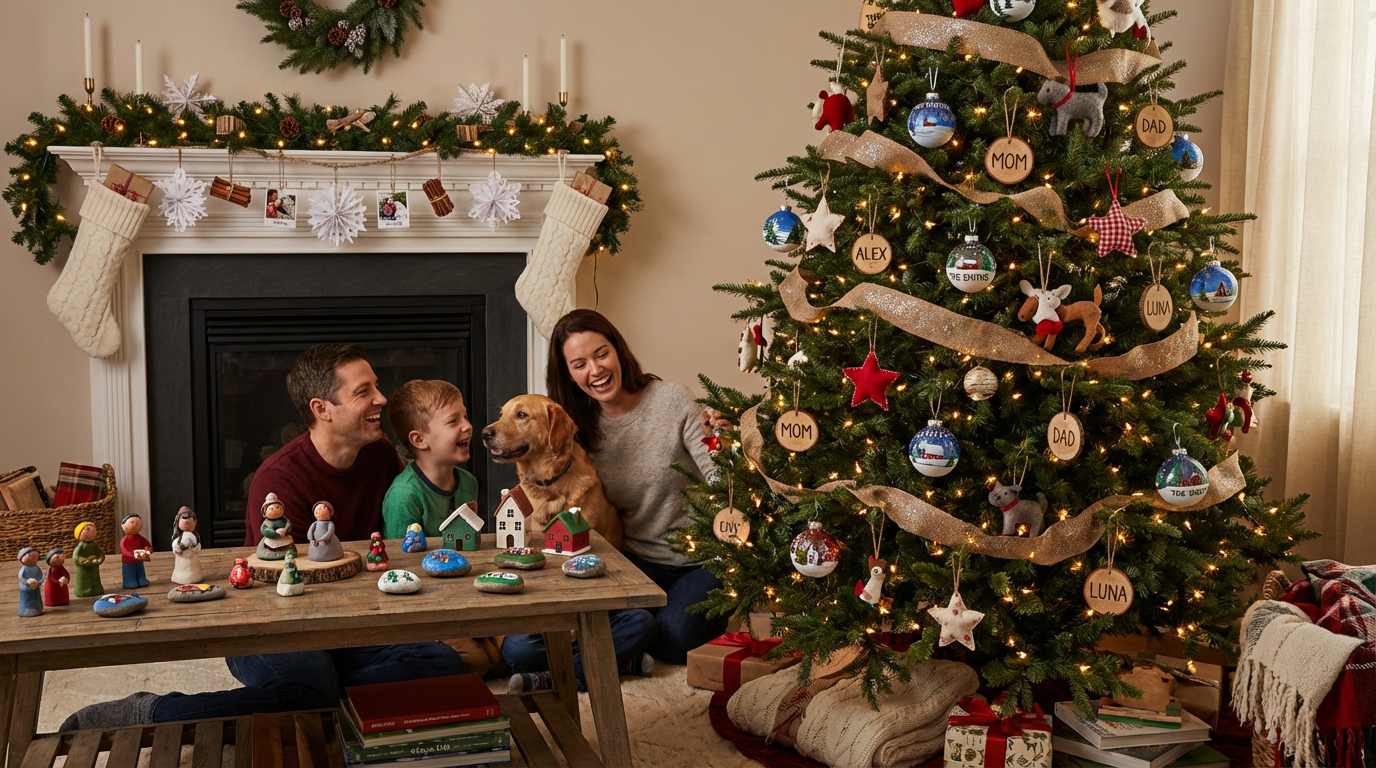
Whether you want to commemorate special memories, showcase family names, highlight milestones, or simply express your artistic side, personalized ornaments allow every home to feel warm, inviting, and individual. DIY projects also add a hands-on, festive activity for families, friends, or solo creative time.
This guide walks you through creating personalized ornaments, DIY projects, and unique home décor that infuse personality into your holiday season.
Step 1: Choose Your Ornament Base and Material
The first step in creating personalized ornaments is selecting the right base and material. The material determines the style, durability, and finishing techniques.
Popular Ornament Bases
- Glass or acrylic balls: Perfect for painting, glitter, or decals
- Wooden shapes: Ideal for rustic, farmhouse, or engraved designs
- Ceramic or clay: Great for hand-painted or sculpted ornaments
- Felt or fabric: Perfect for soft, crafty, and kid-friendly DIYs
- Metal or tin: Durable and suitable for laser-engraving or stamping
Tips
- Choose a base compatible with your intended personalization method.
- Consider the weight if you plan to hang them on a delicate tree.
- Transparent materials allow for layered designs inside the ornament, adding depth.
Step 2: Decide on Personalization Method
Personalization can take many forms depending on your materials and creative approach.
Popular Personalization Methods
- Hand Painting: Use acrylic or enamel paints for names, dates, or patterns.
- Vinyl Stickers or Decals: Apply custom vinyl letters or designs for precision.
- Engraving or Etching: Works on wood, glass, or metal for a permanent and elegant finish.
- Photo Inserts: Print small photographs and place inside transparent ornaments.
- Glitter or Mod Podge Designs: Add sparkle with letters or shapes glued onto the surface.
- Embroidery or Sewing: Stitch names, initials, or designs onto fabric or felt ornaments.
Personalization can be subtle or bold, depending on your desired effect and ornament style.
Step 3: Choose a Theme for Your DIY Ornaments
Consistency creates a cohesive look across your tree, mantel, or gift display.
Popular Ornament Themes
- Family Names & Birthdays: Display each family member’s name or birth year.
- Memorable Dates: Celebrate anniversaries, first Christmases, or new milestones.
- Holiday Icons: Trees, snowflakes, stars, or Santa shapes for playful options.
- Nature-Inspired: Pinecones, leaves, and flowers.
- DIY Kids’ Art: Capture children’s drawings, handprints, or footprints.
- Minimalist Designs: Monograms or geometric shapes for modern homes.
Step 4: Tools and Supplies for Your DIY Projects
To successfully create personalized ornaments, gather the right tools and materials. A well-prepared workspace ensures efficiency and better results.
Basic Supplies
- Paint brushes, markers, or pens
- Acrylic paints, enamel paints, or metallic inks
- Vinyl letters, stencils, or decals
- Mod Podge, glue, or adhesive sprays
- Glitter, sequins, or beads
- Small photographs, scrapbooking paper, or fabric
- Ribbon, string, or hooks for hanging
- Protective coating or sealant
Optional Tools
- Cricut or vinyl cutter for intricate designs
- Wood burner for engraving
- Hot glue gun for attaching embellishments
- Embroidery needles and thread for felt or fabric ornaments
Step 5: Create Your DIY Ornament Designs
Design is the most creative and personal part of the process.
Step-by-Step Tips
- Sketch a Design: Plan your ornament layout, colors, and personalization placement.
- Prepare the Surface: Clean glass, smooth wood, or iron-on adhesive for fabric.
- Apply Personalization: Paint, stick, engrave, or embroider based on chosen method.
- Add Decorative Details: Use glitter, small embellishments, or textured finishes.
- Seal and Protect: Apply a clear coat for durability, especially on paint or paper-based designs.
Consistency in design elements ensures your ornaments feel cohesive on the tree or in décor displays.
Step 6: Incorporate Personalized Ornaments Into Tree Décor
Once completed, personalized ornaments become the centerpiece of your Christmas tree.
Tree Styling Tips
- Balance Placement: Distribute ornaments evenly for visual harmony.
- Layer Textures: Combine personalized ornaments with glass balls, ribbons, or natural elements like pinecones.
- Group by Theme: Cluster ornaments from one year or one family member for storytelling.
- Add Lighting: Warm white or soft LED lights enhance painted or glittered designs.
Personalized ornaments make every branch a conversation starter.
Step 7: Extend DIY Personalization to Gifts and Home Décor
Personalized ornaments aren’t just for trees—they can enhance gift-giving and room décor.
Gift Ideas
- Tie DIY ornaments to wrapped presents with ribbon for a dual-purpose gift.
- Include family or friend names to personalize gift tags.
- Create ornament sets as custom gifts for neighbors or coworkers.
Home Décor Applications
- Hang ornaments from mantel garlands or window displays.
- Create mini trees or tabletop displays using your handmade ornaments.
- Decorate door knobs, stair rails, or shelves with small personalized pieces.
This approach makes your entire home feel cohesive, festive, and heartfelt.
Step 8: Incorporate Seasonal Materials Into Your DIY Projects
Using seasonal or natural materials enhances the warmth and charm of your DIY ornaments.
Ideas
- Pinecones: Paint, glitter, or wrap with ribbon and attach personalized tags.
- Twigs or Wooden Discs: Hand-paint initials, names, or dates.
- Dried Citrus or Flowers: Attach small name tags or initials for a natural look.
- Faux Snow or Cotton: Add texture to clear ornaments for a wintery feel.
These materials create a rustic, sentimental, and authentic look that complements personalized elements.
Step 9: Create a Family-Oriented DIY Ornament Activity
Making ornaments can become a holiday tradition, allowing family members to participate.
Tips for Family DIY Days
- Set up a workspace with supplies, templates, and protective coverings.
- Assign different personalization tasks: painting, glittering, ribbon tying.
- Encourage children to create their own signature ornament each year.
- Store ornaments in labeled boxes to track family growth and memories over the years.
This adds meaningful, interactive experiences to holiday décor and strengthens family bonds.
Step 10: Maintain and Preserve Personalized Ornaments for Years
To ensure your DIY ornaments last, proper care and storage are essential.
Maintenance Tips
- Store in individual protective boxes or tissue paper to prevent scratches.
- Avoid placing delicate paint or paper ornaments in direct sunlight.
- For glass or ceramic pieces, handle with care and avoid heavy pressure.
- Clean ornaments gently with a soft cloth; avoid harsh chemicals.
- Update decorations each year with new personalized additions for a growing collection.
By preserving these ornaments, you create a treasured family heirloom that becomes part of holiday tradition.
Conclusion
Personalized ornaments and DIY Christmas décor are one of the most meaningful and creative trends for 2025. They combine sentimental value, creativity, and festive cheer, making your home uniquely yours. From hand-painted glass balls to fabric or wooden shapes, DIY ornaments allow endless personalization possibilities. Incorporate them into your tree, mantel, table settings, and gift wrapping to make every corner of your home feel heartfelt, playful, and extraordinary. With careful planning, quality materials, and thoughtful placement, personalized ornaments transform your holiday into a memorable, one-of-a-kind celebration.