Raised garden beds are one of the most popular home and garden DIY projects in the United States. Homeowners search for them because they improve soil quality, reduce weeds, increase yields, allow gardening in small spaces, and look clean and organized. Yet many people struggle to find a complete, high-quality guide that explains every step without skipping important details.
This guide is designed to solve that problem. Here you will learn exactly how to build a raised garden bed from scratch, with clear steps, professional instructions, common mistakes to avoid, optional upgrades, and long-term care tips. This project is ideal for beginners and only requires basic tools and inexpensive materials.
Why Build a Raised Garden Bed?
Before starting, it helps to understand why raised beds are in such high demand across US households. This will help you decide the best size, location, and materials for your project.
1. Better Soil Control
Most yards have compacted, rocky, or low-nutrient soil. A raised bed lets you fill it with high-quality soil that drains well and supports better root growth.
2. Reduced Weeds
Because the bed is elevated and filled with new soil, weeds have a harder time taking over.
3. Longer Growing Season
Soil warms faster in raised beds, which can give you an earlier start in spring.
4. Easy Access
Raised beds reduce bending and kneeling, making gardening easier for people with mobility issues.
5. Improved Drainage
You choose the soil composition, preventing waterlogging that harms plant roots.
6. Organized Garden Layout
Raised beds make gardens look neat, intentional, and beautiful.
Tools and Materials You Will Need
These materials are affordable, easy to find, and beginner-friendly.
Lumber (Pick One)
- Untreated pine (budget-friendly, lasts 3–5 years)
- Cedar (naturally rot-resistant, lasts 10–15 years)
- Redwood (premium option)
Choose boards measuring 2 in x 10 in or 2 in x 12 in for ideal height.
Hardware & Tools
- Exterior wood screws (2.5″ or 3″)
- Drill/driver
- Tape measure
- Carpenter’s square
- Landscape fabric (optional)
- Shovel
- Level
- Soil mix: garden soil + compost + peat moss or coconut coir
- Mulch (optional)
Recommended Dimensions
Most US gardeners prefer one of these sizes:
- 4 ft × 8 ft × 12 in (Most common)
- 3 ft × 6 ft × 12 in (Small yards)
- 4 ft × 4 ft × 12 in (Beginner-friendly)
Any width over 4 feet makes it hard to reach the center, so avoid that.
Step-By-Step Instructions
Below is a complete breakdown from planning to soil filling.
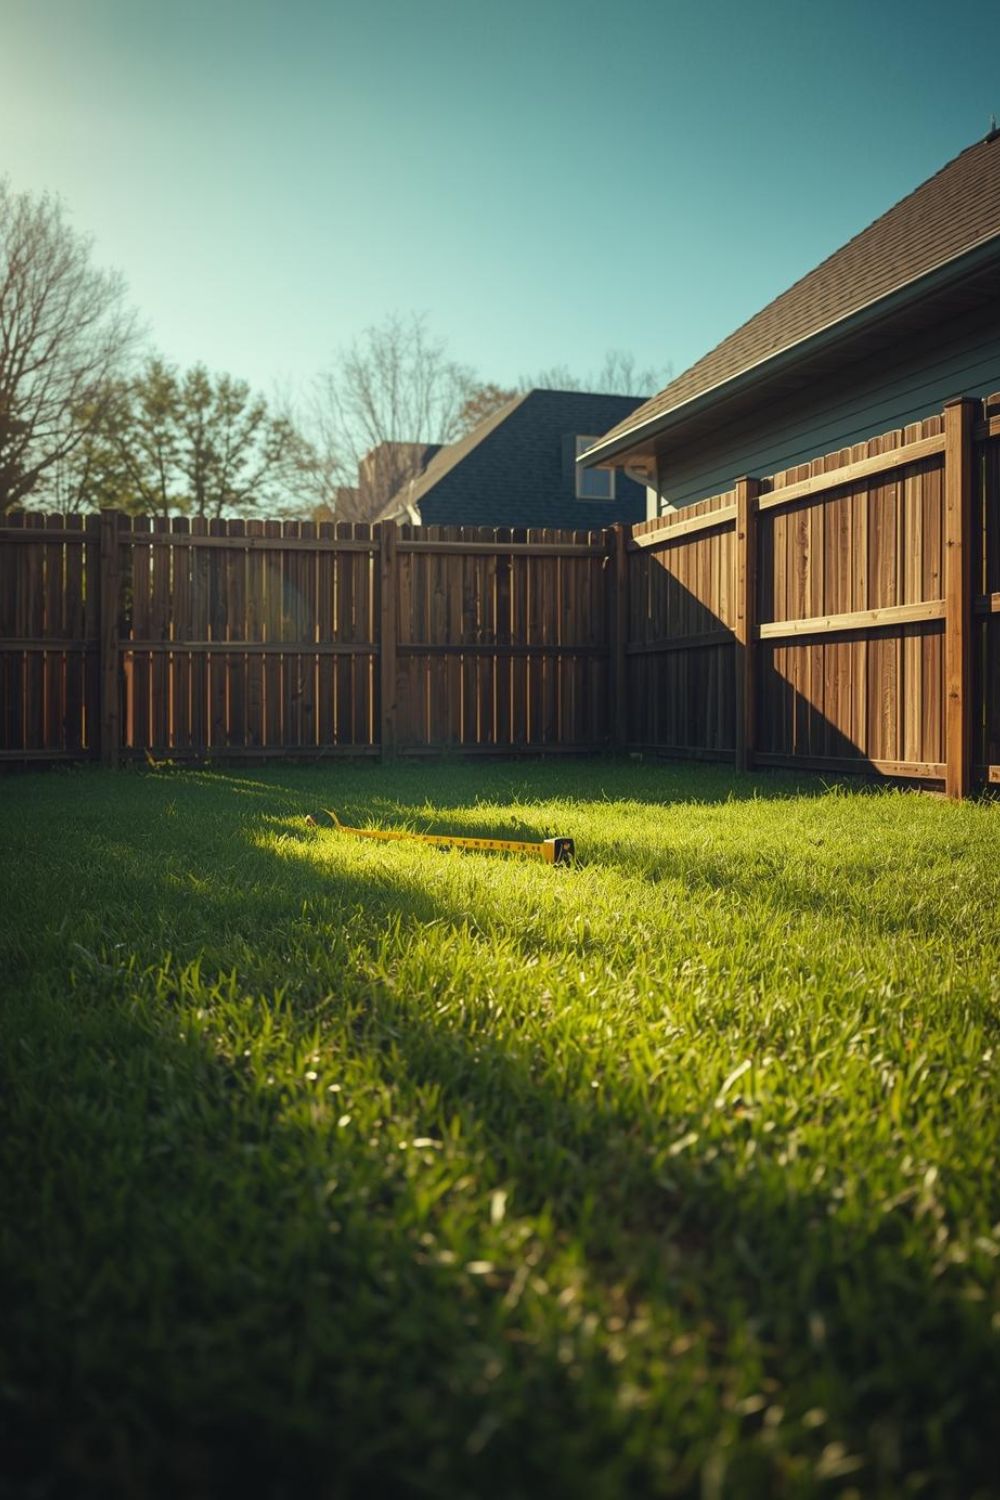
Step 1: Choose the Best Location
Finding the right location is the foundation of a successful raised bed.
Important factors:
Sunlight
Most vegetables need 6–8 hours of direct sunlight daily.
Observe your yard at different times to choose the sunniest spot.
Water Source
Place the bed near a hose or watering system. Plants in raised beds dry out faster.
Level Ground
The ground should be as level as possible. Uneven surfaces create uneven watering and soil displacement.
Avoid Trees
Tree roots will invade your bed and steal nutrients.
Drainage
Avoid spots where water collects after rain.

Step 2: Measure and Mark the Area
Once you choose the size of the bed, mark the outline on the soil.
How to mark correctly:
- Drive a stake at each corner.
- Run a string between stakes.
- Check diagonals for equal length to ensure your rectangle is square.
- Adjust as needed until the shape is perfect.
This helps ensure the structure sits straight and looks professional.

Step 3: Cut and Prepare the Wood
If your lumber isn’t precut, measure and cut the boards according to your chosen dimensions.
Best practices:
- Use a carpenter’s square for clean 90-degree corners.
- Pre-drill screw holes to avoid splitting the wood.
- Sand rough edges to reduce injury risk.
If using cedar, avoid cutting too much; cedar is soft and splits easily.
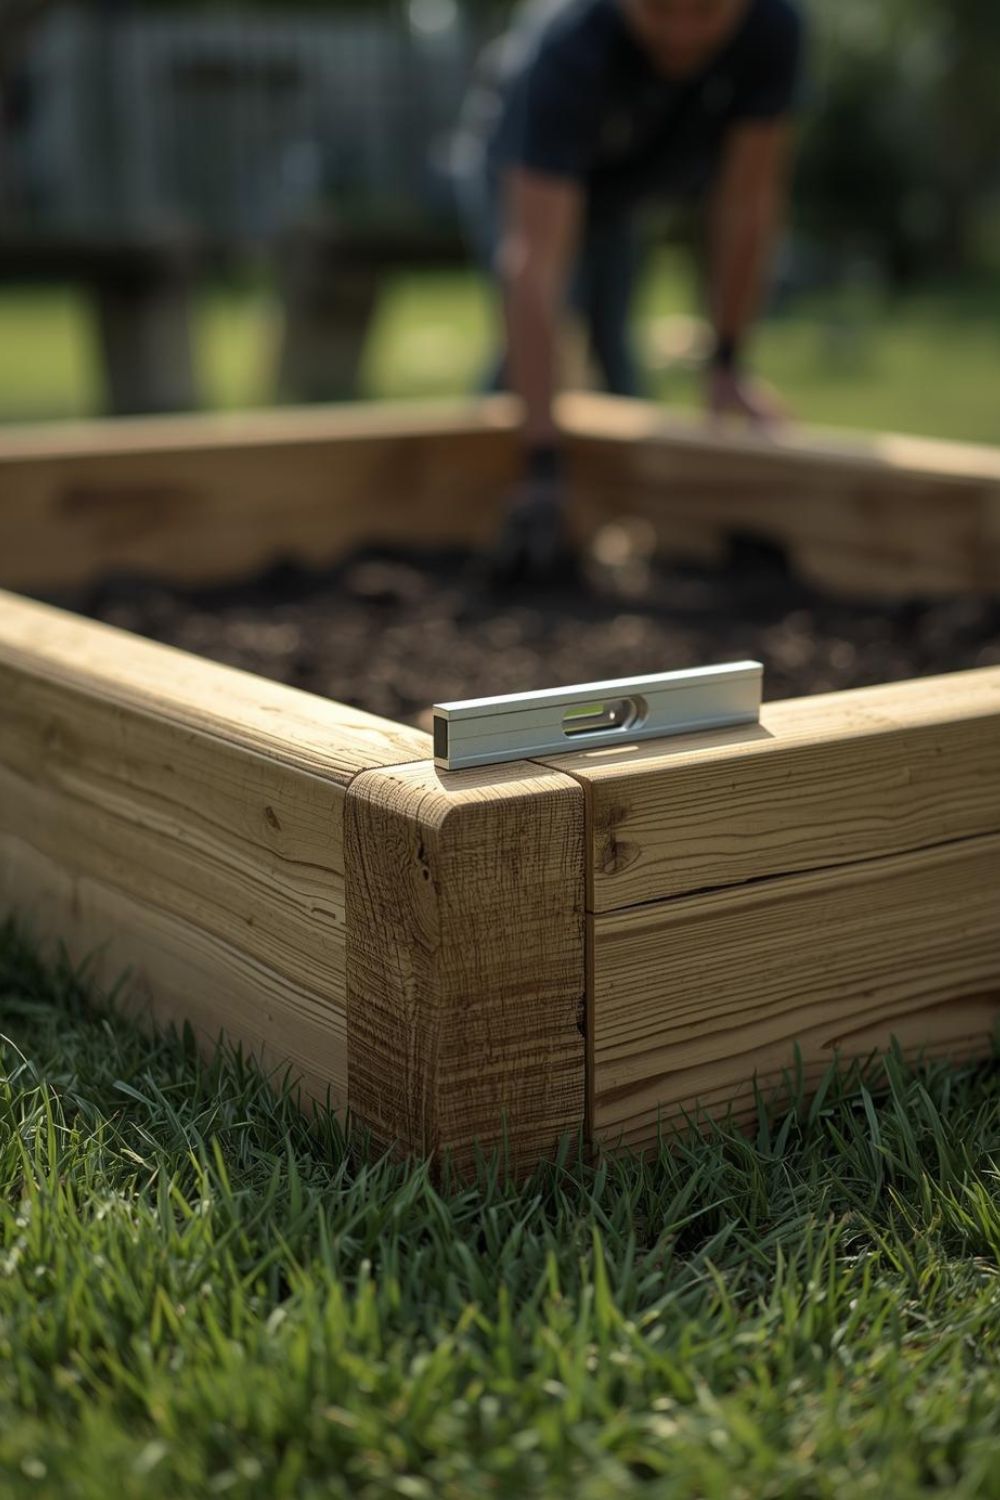
Step 4: Assemble the Raised Garden Bed Frame
This is where your project begins to take shape.
Instructions:
- Lay the boards on the ground where the bed will sit.
- Stand two boards upright to form a corner.
- Align them exactly at 90 degrees.
- Connect them using 2–3 exterior screws.
- Repeat on all corners.
- Reinforce corners with additional screws if necessary.
Building Tips:
- Use clamps to hold boards together for easier screwing.
- Place a block of wood inside each corner for additional strength on larger beds.
At this point, your frame should be sturdy and able to stand on its own.
Step 5: Level the Frame on the Ground
A level garden bed ensures equal water distribution.
How to level:
- Place the frame where it will be installed.
- Use a level on each side.
- If one side is higher, remove soil or add soil underneath until perfectly level.
- Re-check all sides.
Do not skip this step. It affects drainage and plant growth.
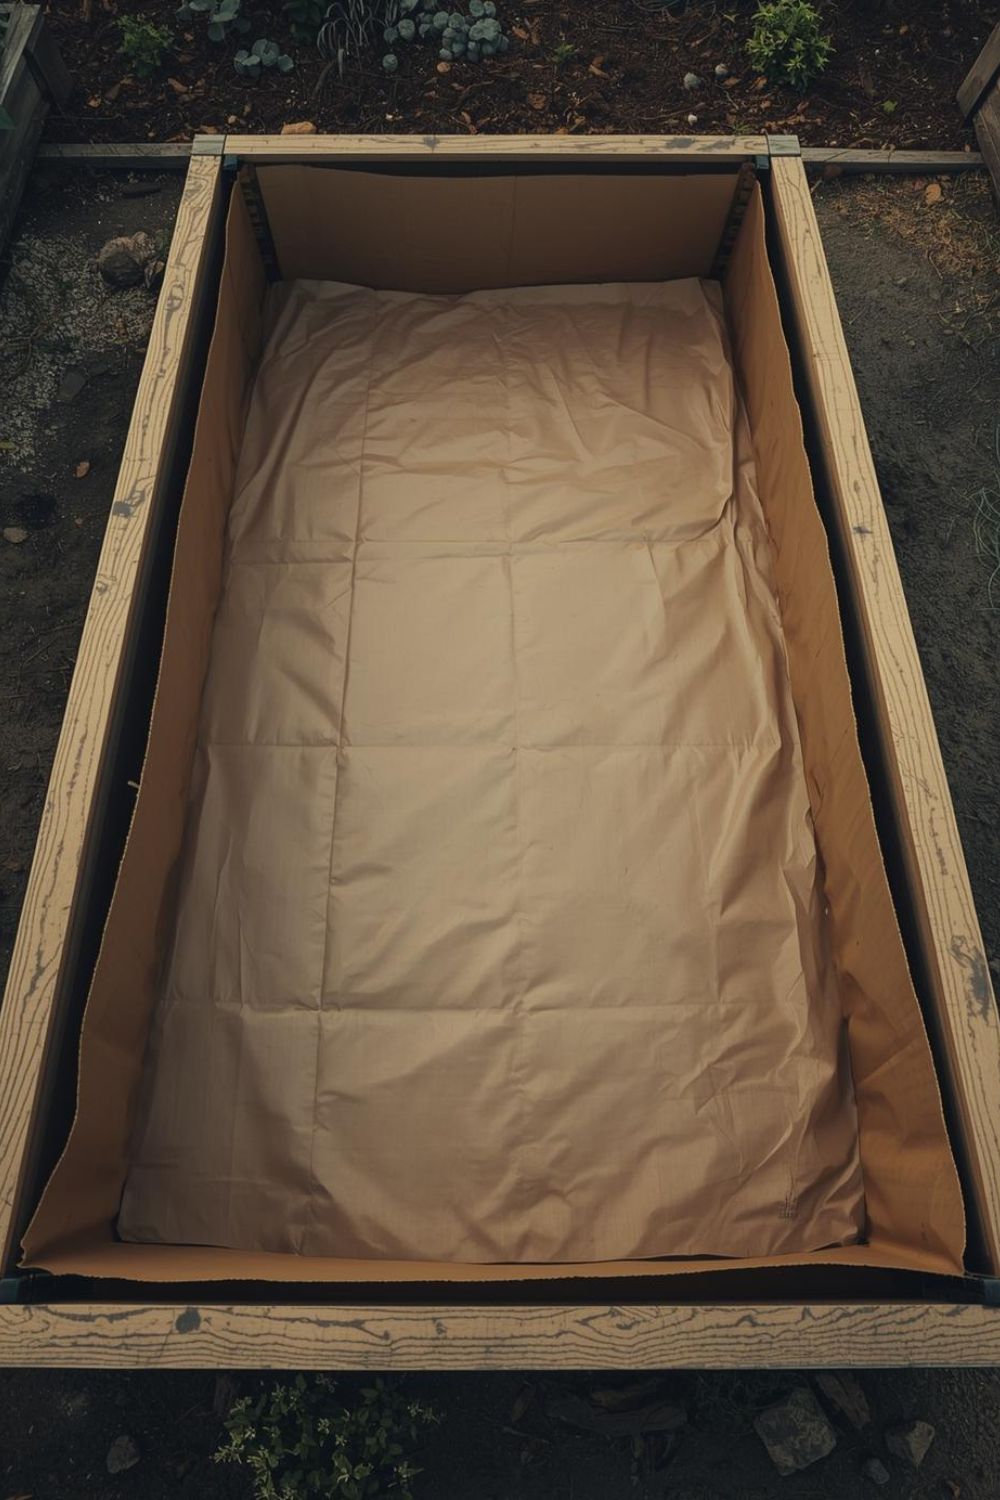
Step 6: Optional: Install Weed Barrier
Adding a weed barrier prevents grass and weeds from growing through your new bed.
Options include:
- Landscape fabric
- Thick cardboard
- Newspaper layers
How to install:
- Roll the material across the base.
- Overlap seams to prevent gaps.
- Anchor with small rocks or soil so it doesn’t move during filling.
Cardboard is popular because it decomposes naturally while blocking weeds initially.
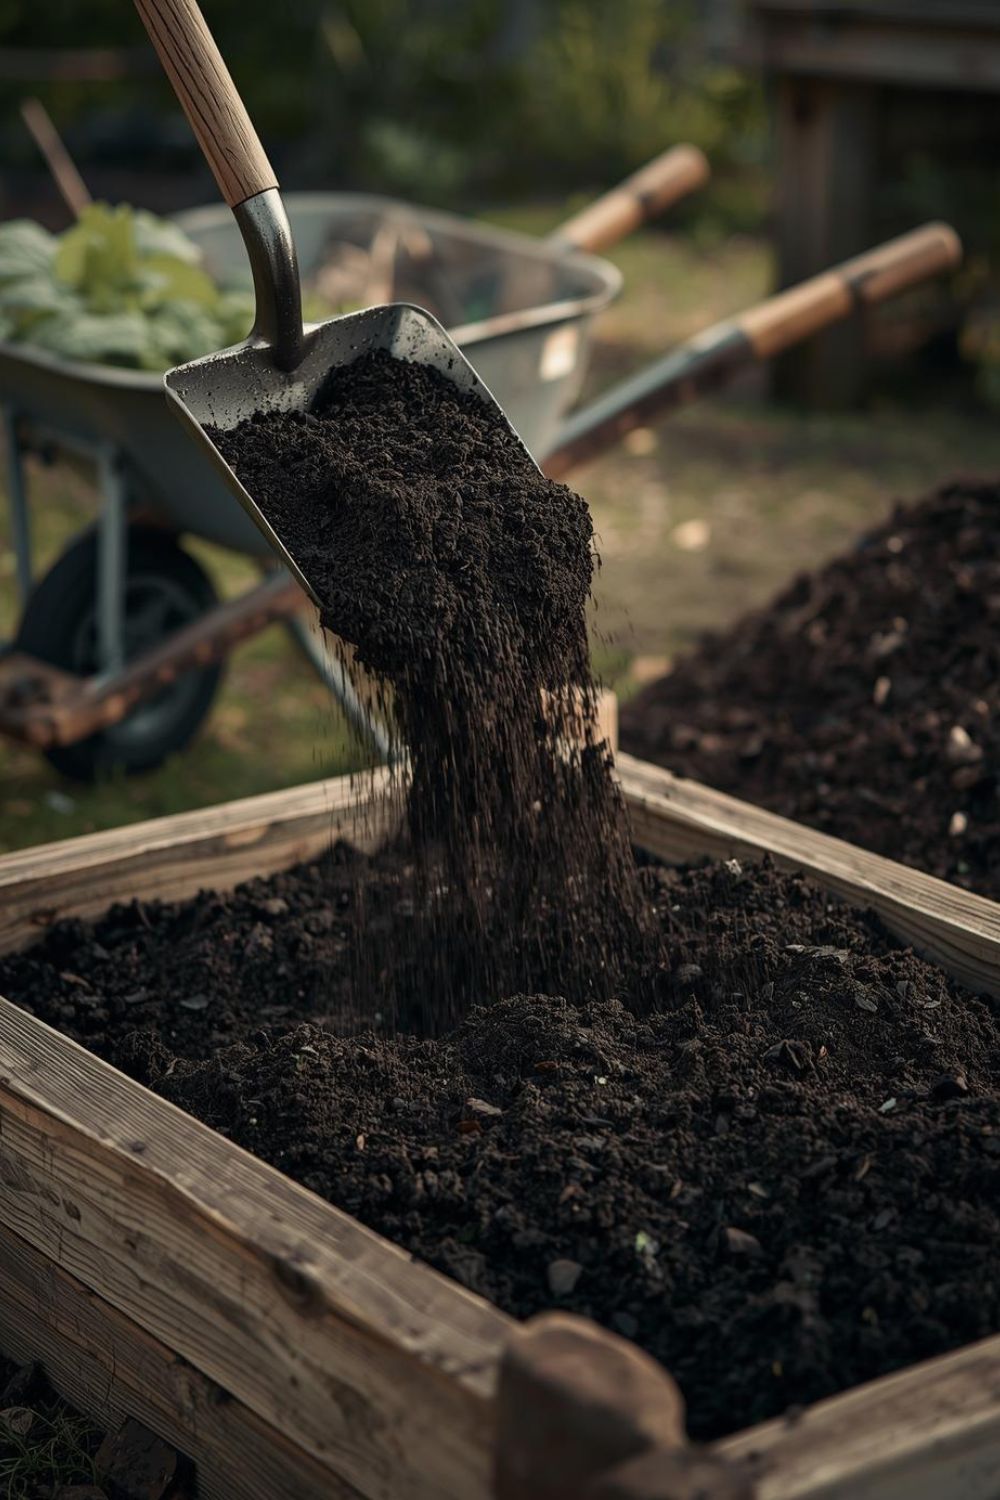
Step 7: Fill the Bed with High-Quality Soil
Good soil makes the biggest difference in your raised garden’s performance.
Recommended Soil Mix (US Gardeners’ Standard)
- 40 percent garden soil
- 40 percent compost
- 20 percent peat moss or coconut coir
Why this works:
- Compost adds nutrients
- Soil provides structure
- Peat/coir improves drainage and moisture retention
How to fill:
- Add 3–4 inches of coarse material (optional) if you want improved drainage.
- Pour in your soil mix gradually.
- Use a rake to level the soil.
- Water lightly to help soil settle.
- Add more soil if needed to reach the top.
Do not use only potting mix. It drains too quickly and compacts over time.

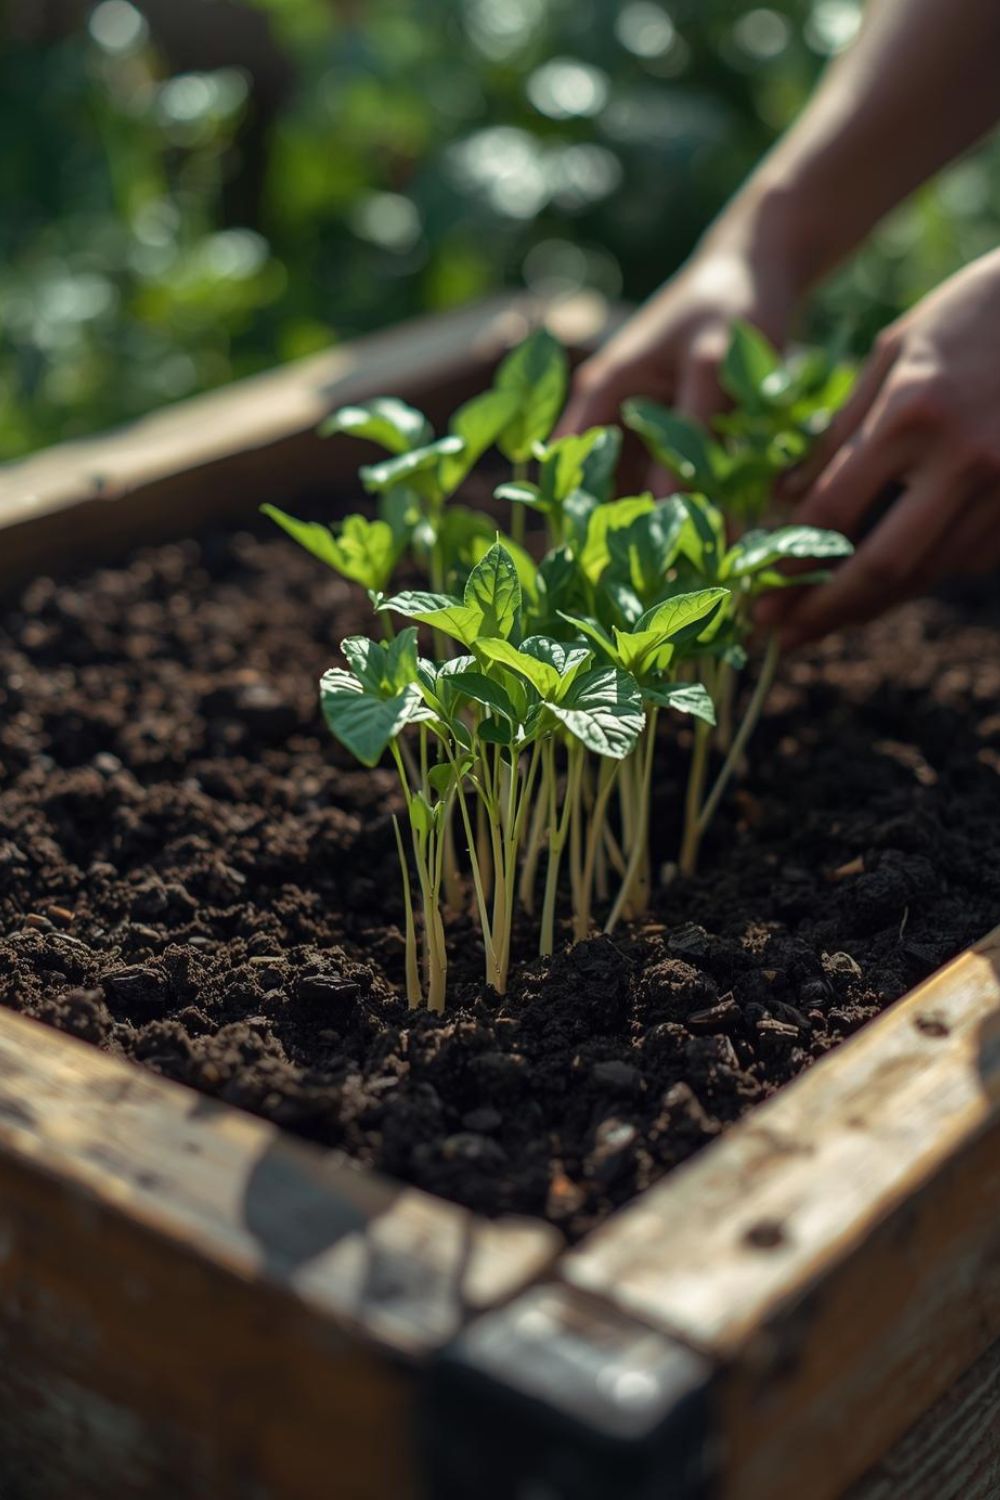
Step 8: Plant Your Vegetables, Herbs, or Flowers
By now, you have a fully built raised garden bed ready for planting.
Planting guidelines:
- Space plants according to their mature size.
- Taller plants go on the north side to prevent shading smaller ones.
- Leave pathways around the bed so you can access all sides.
Beginner-friendly plants for raised beds:
- Tomatoes
- Peppers
- Basil
- Lettuce
- Kale
- Carrots
- Beans
- Zucchini
Raised beds heat fast, so warm-season crops perform well.
Common Mistakes to Avoid
1. Using Treated Lumber
Modern treated wood is safer than older formulas, but many gardeners prefer untreated lumber for edible crops.
2. Making the Bed Too Wide
Beds wider than 4 feet are difficult to reach across.
3. Filling with Poor Soil
Cheap topsoil mixes often lack nutrients and compact easily.
4. Skipping the Leveling Step
This leads to drainage issues and uneven plant growth.
5. Placing the Bed Near Large Trees
Roots will invade the soil within one season.
Optional Upgrades
Once your basic raised bed is ready, these upgrades can improve performance and appearance.
Add Corner Posts
Attach vertical posts at each corner to increase structural strength.
Install a Drip Irrigation System
Watering becomes automatic and more efficient.
Add a Trellis
Great for climbing plants like cucumbers and beans.
Build a Cover or Cold Frame
Extend your growing season by protecting plants from frost.
Stain the Exterior
Use a non-toxic, outdoor-safe stain for a polished look.
Long-Term Maintenance Tips
Refresh Soil Each Year
Add 2–3 inches of compost to restore nutrients.
Check for Erosion
Replace soil where needed after heavy rains.
Rotate Crops
Growing the same plant every year in the same spot increases pests and disease.
Inspect the Wood
Reinforce weak joints before they fully fail.
Mulch Regularly
Keeps weeds down and soil temperature stable.
Conclusion
Building a DIY raised garden bed is a satisfying and practical home project that improves your garden’s productivity and appearance. With the right materials, proper planning, and careful assembly, you can create a long-lasting structure that supports healthy plants for many seasons. This step-by-step guide gives you everything you need to design, build, fill, and maintain your raised bed with confidence.