A well-designed garden pathway not only enhances the beauty of your outdoor space but also provides practical benefits by guiding foot traffic, protecting plants, and preventing muddy patches. Whether you have a small backyard or a large garden, creating your own DIY garden pathway is achievable, cost-effective, and satisfying. In this guide, we’ll explore how to build pathways using gravel, stone, or pavers, with detailed steps, tips, and considerations to ensure a beautiful, durable, and low-maintenance result.
Why Build a Garden Pathway?
Before diving into construction, let’s understand why a garden pathway is a smart addition:
- Aesthetic appeal: Pathways add structure, symmetry, and style to your garden.
- Practicality: Prevents soil compaction, mud, and erosion by directing foot traffic.
- Accessibility: Makes it easier to navigate through your garden for planting, watering, and maintenance.
- Property value: Well-maintained outdoor spaces can boost curb appeal and home value.
With these benefits in mind, let’s explore the different types of pathways you can build.
Types of Garden Pathways
1. Gravel Pathways
Gravel paths are among the easiest and most budget-friendly options. They offer excellent drainage, a natural look, and can be installed relatively quickly.
Materials Needed:
- Gravel (crushed stone or pea gravel)
- Landscape fabric
- Edging materials (wood, metal, or plastic)
- Shovel and rake
- Garden hose
Steps:
- Choose the path route: Use stakes and string to mark the desired pathway. Consider curves for a more natural look.
- Prepare the base: Remove grass and topsoil about 3–4 inches deep. Level the area using a rake.
- Lay landscape fabric: This prevents weed growth and stabilizes the gravel.
- Install edging: Secure wood, metal, or plastic edging along the sides to keep gravel contained.
- Add gravel: Spread gravel evenly across the path, about 2–3 inches thick.
- Compact the gravel: Lightly tamp it down using a hand tamper or walk over it.
- Finishing touches: Sweep edges clean and water lightly to help the gravel settle.
Pros: Affordable, easy to install, good drainage.
Cons: Gravel can scatter over time and requires occasional topping up.
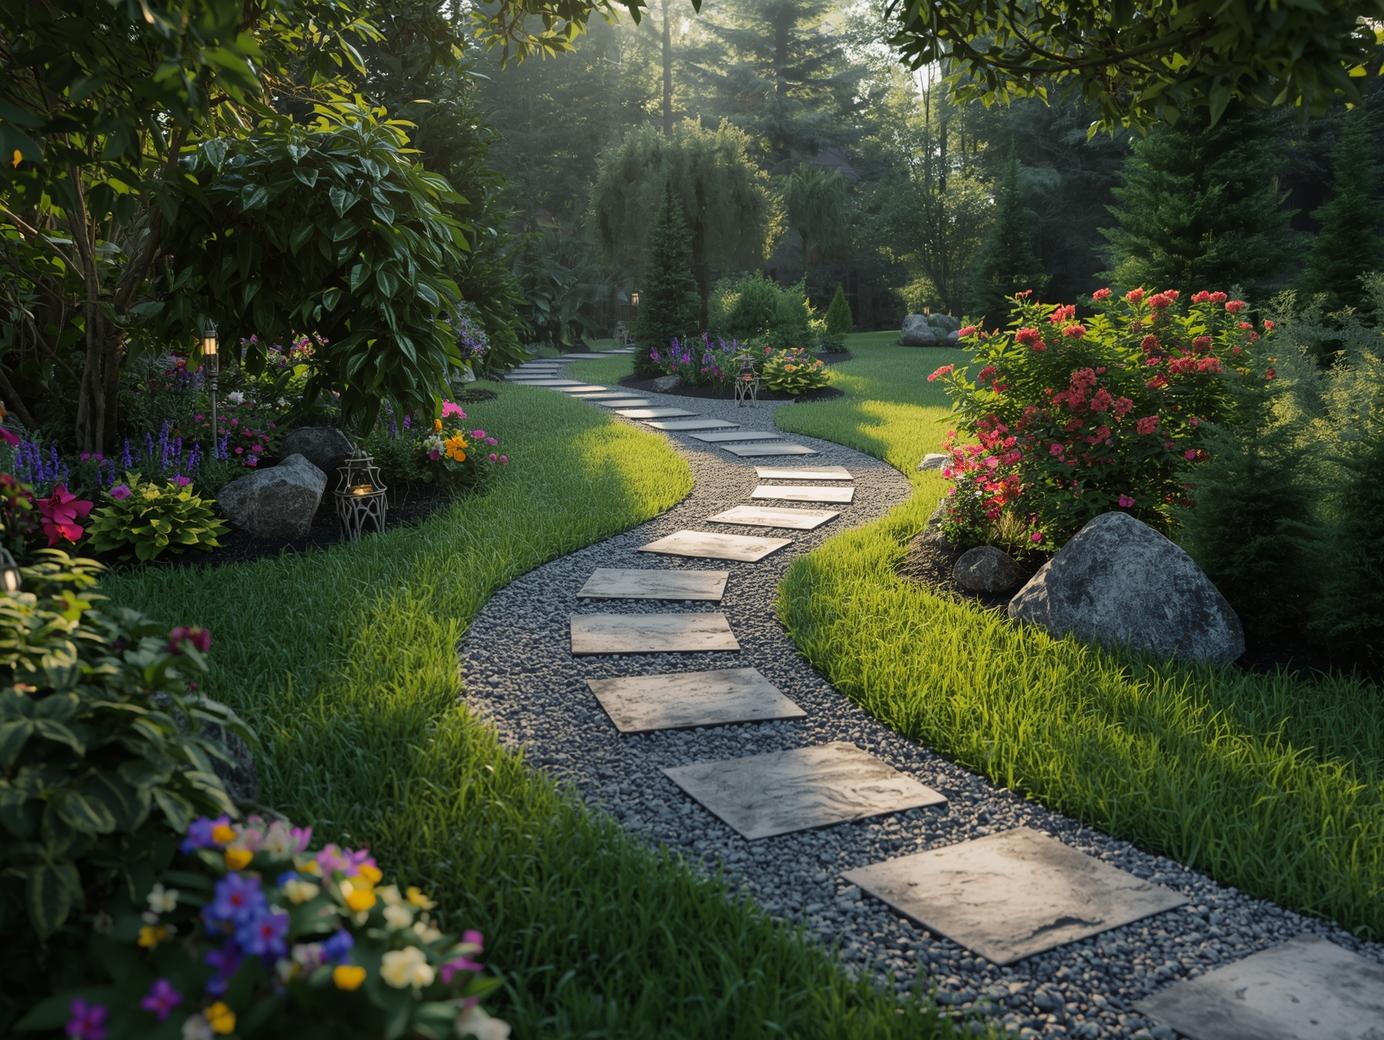
2. Stone Pathways
Stone pathways provide a timeless, elegant look and are highly durable. They can range from flat flagstones to natural stepping stones.
Materials Needed:
- Flagstones, slate, or natural stones
- Sand or gravel base
- Landscape fabric
- Rubber mallet
- Level
- Shovel
Steps:
- Mark your path: Use stakes, string, or garden hoses to outline the pathway.
- Prepare the ground: Remove the topsoil about 4–6 inches deep. Level the ground and ensure a slight slope for water drainage.
- Install landscape fabric: Optional but recommended to reduce weed growth.
- Lay the base: Add a 2–3 inch layer of sand or fine gravel to provide stability. Level it carefully.
- Place stones: Arrange stones along the path, keeping spacing consistent. Tap each stone gently with a rubber mallet to level it.
- Fill gaps: Add sand, gravel, or moss between stones for a finished look.
- Compact and finish: Walk the path to ensure stability and adjust stones as needed.
Pros: Durable, natural look, minimal maintenance.
Cons: Higher cost, heavier materials, more labor-intensive.
3. Paver Pathways
Pavers are uniform blocks made from concrete, brick, or stone. They offer a modern, polished look and are very versatile in design.
Materials Needed:
- Pavers (concrete, brick, or stone)
- Sand or crushed stone base
- Landscape fabric
- Edging materials
- Rubber mallet and level
- Shovel, rake, and broom
Steps:
- Design the layout: Decide the pattern—straight, curved, herringbone, or basket weave.
- Excavate the path: Remove topsoil to a depth of 6–8 inches, depending on paver thickness.
- Install landscape fabric: Helps prevent weeds and stabilizes the base.
- Add base layer: Spread crushed stone or gravel about 4–6 inches deep. Compact it using a hand tamper.
- Add sand layer: Spread 1–2 inches of sand on top of the gravel base. Level it carefully.
- Lay pavers: Place pavers in your desired pattern, keeping consistent spacing. Use a rubber mallet to gently tap them into place.
- Fill gaps: Sweep sand into gaps between pavers and lightly water to settle it. Repeat as needed.
- Install edging: Secure the sides with plastic, metal, or stone edging to prevent movement.
Pros: Long-lasting, customizable, polished appearance.
Cons: More expensive, requires precise installation.
Tips for a Successful Garden Pathway
- Plan the route carefully: Natural curves often look more inviting than straight lines.
- Check for drainage: Ensure your pathway has a slight slope to prevent water pooling.
- Choose the right materials: Consider your garden style, budget, and maintenance preferences.
- Mix materials: Gravel can be combined with stepping stones for an affordable yet stylish pathway.
- Keep scale in mind: Pathways should be wide enough for comfortable walking (typically 2–3 feet).
- Lighting: Adding solar lights or lanterns can make your pathway safe and visually appealing at night.
- Maintenance: Regularly remove weeds, adjust stones or pavers, and top up gravel as needed.
Cost Considerations
- Gravel: $1–$3 per square foot
- Natural stone: $5–$15 per square foot
- Concrete or brick pavers: $8–$20 per square foot
- Additional costs: Edging, sand, gravel base, landscape fabric ($50–$150 total depending on size)
By choosing materials wisely and doing the work yourself, you can create a stunning garden pathway at a fraction of the cost of professional installation.
DIY Garden Pathway Design Ideas
- Curved natural stone path: Ideal for cottage-style gardens.
- Straight paver walkway: Perfect for modern or minimalist landscapes.
- Gravel stepping stones: Adds charm and is budget-friendly.
- Mixed-material path: Combine gravel and bricks for a textured look.
- Bordered pathways: Add flowers, shrubs, or mulch along edges for a polished finish.
Safety and Practical Tips
- Wear gloves and safety glasses when handling heavy stones or pavers.
- Lift carefully to avoid back injuries.
- Level surfaces properly to prevent tripping hazards.
- Check local regulations if you plan a large-scale pathway or paving project.
Conclusion
Creating a DIY garden pathway can completely transform your outdoor space, making it more functional, organized, and visually appealing. Whether you choose gravel, stone, or pavers, careful planning, proper preparation, and attention to detail are key to a long-lasting and beautiful pathway. By following this guide, you can enjoy a customized walkway that suits your style and budget, adds charm to your garden, and provides a practical solution for navigating your yard year-round.